1. HOW TO USE THE SUBARU SELECT MONITOR
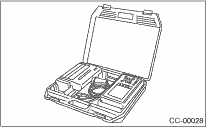
1. Prepare the Subaru Select Monitor kit.
2. Connect the diagnosis cable to the Subaru Select Monitor.
3. Insert the cartridge to the Subaru Select Monitor.
4. Connect the Subaru Select Monitor to the data link connector.
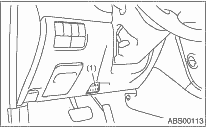
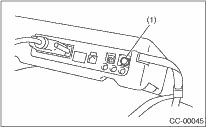
(1) Data link connector is located in the lower portion of the instrument panel (on the driver’s side).
|
(1) |
Data link connector |
(2) Connect the diagnosis cable to the data link connector.
CAUTION:
Do not connect scan tools other than the Subaru Select Monitor.
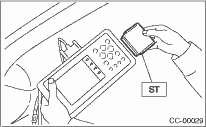
5. Turn the ignition switch to ON (engine is OFF), and the Subaru Select Monitor switch to ON.
|
(1) |
Power switch |
6. Using the Subaru Select Monitor, call up DTCs and various data, then record them.
2. READ DIAGNOSTIC TROUBLE CODE (DTC) FOR THE ENGINE
Refer to “Read Diagnostic Trouble Code” for information about how to indicate DTC. 
NOTE:
The communication line between ECM and immobilizer control module can be checked in “System Operation Check Mode”. This is referred to as “Communication line check”.
1. Connect the Subaru Select Monitor.
2. On the «Each system check» display, select the {Engine Control System}.
3. Start the communication line check.
4. Is «OK» displayed on screen?
If displayed, go to step 5).
If not, go to step 6).
5. After diagnostic results, it is determined that the circuit is not shorted. Finish the communication line check.
6. If a problem is detected, repair the trouble cause.