NOTE:
If only a single part is replaced, perform the work without removing the engine from vehicle. Refer to “Valve Clearance” for preparation work. 
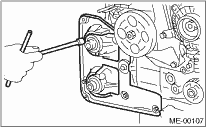
1. Remove the V-belts.
2. Remove the crank pulley.
3. Remove the timing belt cover.
4. Remove the timing belt.
5. Remove the cam sprocket.
6. Disconnect the oil flow control solenoid valve assembly connector.
7. Remove the tensioner bracket.
8. Remove the timing belt cover No. 2 (LH).
9. Remove the timing belt cover No. 2 (RH).
10. Remove the oil level gauge guide. (LH side)
11. Remove the rocker cover and gasket.
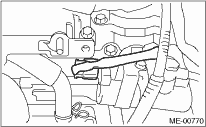
12. Remove the oil pipe.
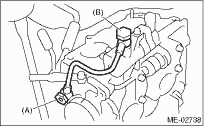
|
(A) |
Union screw with filter (with protrusion) |
|
(B) |
Union screw without filter (without protrusion) |
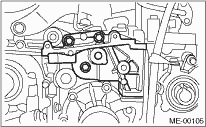
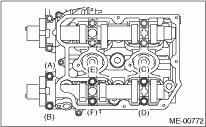
13. Loosen the oil flow control solenoid valve assembly and intake camshaft cap bolts equally, a little at a time in alphabetical sequence shown in the figure.
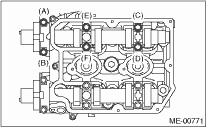
14. Loosen the exhaust camshaft cap bolts equally, a little at a time in alphabetical sequence shown in the figure.
15. Remove the oil flow control solenoid valve assembly, intake camshaft cap and camshaft.
16. Remove the exhaust camshaft caps and camshaft.
NOTE:
Arrange camshaft caps in order so that they can be installed in their original positions.
17. Similarly, remove the camshaft (RH) and related parts.